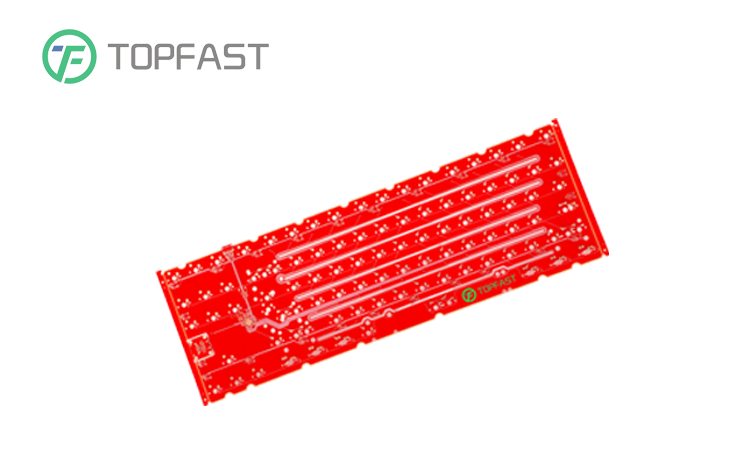
Keyboards work mainly because of their internal PCB. It is connected directly to the computer through connectors. The signals are sent through the keys, directly to the computer.
Unlike membrane keyboards, there is more work to be done in building mechanical keyboards. Mechanical keyboard switches are connected directly to the printed circuit board. If you would like to learn more about keyboard PCBs, read on for more of our explanation of this.
A PCB or printed circuit board is basically the brain of a keyboard. The PCB sends signals to the computer to get the commands and keystrokes that we press while typing. Without this part, there would be no control over the computer.
The PCB on a mechanical keyboard controls the entire keyboard. Many people who build their own keyboards will see how this PCB looks. Before setting up the keyboard, it is recommended to test the PCB to make sure it is working properly. This will save time and effort in building the keyboard.
Using a metal object that can act as a switch, gently touch the PCB with a metal object with contact points attached. through this process you will be able to see if all the keys on the board are working.
In addition, the size of the PCB you will get will reflect the size of the whole keyboard. The keyboard is available in different sizes, full size or 100%, TKL, 75%, 65%, 60% and 40%.
The PCBs on keyboards have the same main function as the boards on other devices. They connect electrical components together in order to function. Its main function is to send the signals from the keys.
When building a keyboard, you can add some functionality. After checking the PCB, the next thing to do is to clip or screw the stabilizer to the PCB. After this, you will hot-swap or solder all the switches on the PCB. One thing to remember before soldering the switches is that they should only be removed or replaced after desoldering them, which takes time and may damage the PCB.
The layout of the PCB determines the layout of your computer. In addition, since it is the brain of the keyboard, you will also find the terminals on the PCB. This is also where you will plug the connectors into your PC.
There are also various ways to mount the PCB on the keyboard. A popular mounting method is top mounting, where the PCB is placed underneath and the tray is secured to the top of the case. Bottom mounting is similar to top mounting, but is secured to the bottom of the enclosure. In tray mounting, the PCB is secured to the bottom of the board with screws.
Other mounting methods are sandwich mount, spacer mount, and integrated board. In Sandwich Mount, the board passes through the enclosure and is secured to the top frame. The shim mount uses a shim material. On the other hand, an integrated board is a one-piece molded board and top frame.

With an expanding population of keyboard enthusiasts, the keyboard market has expanded as well. There are several stores where you can buy parts for your custom keyboard. You can get different parts from different brands and have them manufactured.
You can purchase matching kits or buy the parts separately. It is important to know that certain PCBs are not compatible with the board or the case itself. You can also customize the design of your PCB by asking the manufacturer TOPFAST to do it specifically for you.
Address of Plant
PCB Factory:
A1 Building, B Zone, Ditang Industrial Zone, Ditang Road, Shajing Street, Bao'an District, Shenzhen, China
PCBA Factory:
Room 805, Room 806, Room 809, No. 96, Chuangqiang Road, Ningxi Street, Zengcheng District, Guangzhou City, Guangdong Province, P.R. China
Office Address:
Room 805, Room 806, Room 809, No. 96, Chuangqiang Road, Ningxi Street, Zengcheng District, Guangzhou City, Guangdong Province, P.R. China